In honor of moving aboard our Catalina 380 this weekend (!) this post is dedicated to the people who want to do the same thing, but don’t know how or where to start. Having just been through this 6 month process, here is a step-by-step list of how we did it. Keep in mind, we aren’t cruising yet! This is about living at a marina in the U.S.
(NOTE- This is a LONG technical post. If you’re looking for an update on “Conor and Tay’s Big Adventure”…hi Mom, hi Dad…it will be up tomorrow)
1) Take a sailing 101 class. Make sure you actually like sailing. If you hate it but like the simplicity of small living or dock life, think about a trawler.
2) Make sure you and your partner (if you have one) are on the same page. Go to your local boat show, and tour different models. How small are you willing to go? Which boats do you fit comfortably in? Are you a fan of catamarans or do you like the traditional feel of a monohull? What would you need to live day-to-day? And last but not least: what kind of use are you looking to get from your boat? Coastal cruising or bluewater?
3) Start saving money. You will need to put between 10-20% down on your boat. Also, a lot of extra fees will pop up, so leave some wiggle room. We saved 25% of our max boat budget. (Make a note: figure out your own max budget/expenses projected at least 3 years out)
4) Research marinas in your area. If you are west coast, you might have a harder time finding marinas that allow liveaboards (some only allow 10% of slips to be liveaboards). What is the wait list? In California, it was up to 10 years. Price to dock per foot of boat? Are the facilities nice? Is it a reasonable commute to work? It would really suck to buy a boat, only to find out that you can’t live on it! MAKE SURE YOU HAVE A PLACE TO PUT YOUR BOAT BEFORE YOU BUY IT!
5) If the stars are aligning and you’ve found your perfect marina, contact a local BUYERS boat broker. They work for you, like a real estate agent. DO YOUR RESEARCH. Look at sailing forums, see what people have to say about certain agencies or brokers. Call around, and find someone you mesh with. I decided on our broker based on his great reputation, his bio (lived aboard for 15 years—can’t beat that expertise!), and the fact that the brokerage company as a whole promised to help newbie buyers navigate a complicated process. I wanted someone who would be patient with us and answer questions we didn’t know we had. If you don’t get that vibe, look for a better broker. They’re honest and they’re out there, you just have to do the legwork.
6) Start getting rid of all of your shit. Donate it, sell it, store the important stuff with family—and even though you THINK you’ve downsized to your bare minimum, you will still have way to much. We downsized to a 7×7 POD (only half full, too!) and I’ve discovered we will only need about a third of it all. Once it is gone, you won’t miss it, I promise.
7) Remember what I said about the boat show? Make a list with your broker about your wants/likes. You can talk make/models, but if this is your first boat, keep an open mind. Then let him or her do their thing. Our broker came back with 3 solid choices, and 2 additional boats that he thought would be a good fit, even though they didn’t fit our minimum length requirement. Lo and behold, we went with the smallest boat!
8) Once you’ve found your dream boat, you’ll need financing. You will put an offer on the boat, making sure that the deal is CONTINGENT ON SECURED FINANCING and a SATISFACTORY SURVEY. This clause is important, because if you can’t get the money or your survey sucks, you can walk away from the deal. 10% of the boat cost will go into an escrow account (remember when I said to save money?) while you find someone to finance your boat. Such a large loan that is not a house is difficult for some credit unions and banks to wrap their heads around. If you’re younger like us, they will basically laugh at you. Be prepared to have someone older than you with a longer credit history cosign the loan. Our cosigner will never pay a CENT of our loan, but he was needed on the paperwork. We went with LIGHTSTREAM for financing, a division of Sun Trust Bank, because their rates were reasonable and they allow liveaboards.
9) Schedule a survey with a certified surveyor. This will include a thorough check of the boat’s internal and external systems, as well as a haul out to inspect the bottom/keel (Ding ding! Surprise fees! See my post about our survey for more details). Your boat broker and the current owners will accompany you for this. It is an excellent time to ask questions about the boat! What are her quirks? What is their favorite thing about her? If no major issues are found during the survey, then is no need to counter-offer back and forth with the current owners regarding your original offer.
10) Now for the tricky part—GETTING INSURANCE! We hit a snag on this one. Nobody wants to insure first time boat owners, especially when your boat is a lot of money and you want to live on it. Add in the fact that we have never actually sailed a boat this size, and we were in trouble. Forums will tell you all the time to just get regular boat insurance and not tell your insurance company that you live on it, but I refused to lie. I was not going to deal with the anxiety of a ‘don’t ask, don’t tell’ policy, and plus, this blog would give us away in a heartbeat! WR HODGENS MARINE INSURANCE was willing to work with us, thankfully. They don’t care if you want to live aboard, and we were able to get insurance by adding in a “Captain’s Clause”. This was basically our promise to not take the boat off of the dock unless we were accompanied by a certified captain. Once we have fulfilled a certain number of private instruction hours on our boat, our captain will send in a letter to the insurance agency stating that we have enough experience to be on our own. Then voila! Restriction removed and we will be the sole operators of our vessel.
*Remember when applying that ALL boat experience is experience, even small powerboats. Every little bit counts.
11) Once you have insurance, then you wire the rest of the money into the escrow account, the old owners sign the paperwork, and you’re the proud new owner of your boat! Everybody wins.
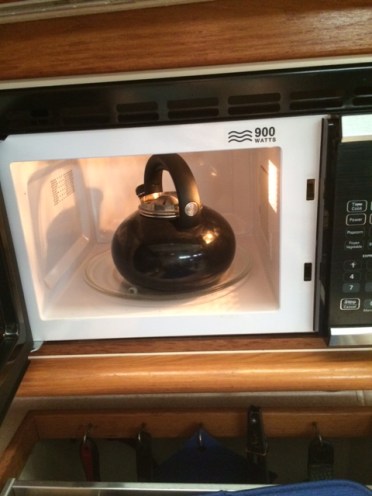
12) MOVE ABOARD YOUR BOAT! The old owners (absolute saints that they are and knowing that we are newbies) left us a detailed manual on how things work (galley, head, AC., etc) that we’ve been slowly working our way through. Even the simplest tasks become so much harder on a boat! We’re learning, though, and we wouldn’t have it any other way. Our first private lesson is next weekend, and until then, I’m just focusing on not hitting my head on everything.
Love,
Taylor and Conor
PS—If you have specific questions pertaining to your own situation, please feel free to email or comment and ask! I would love to help you out 🙂


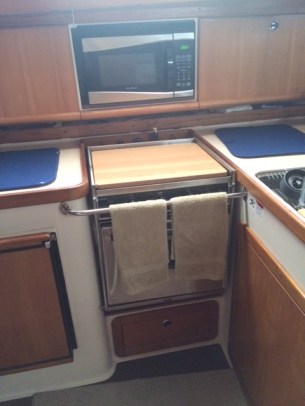
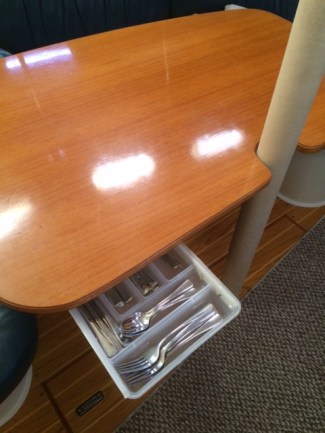
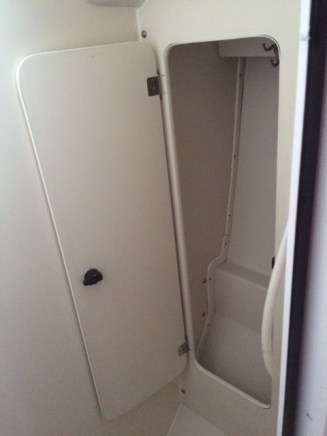
 Moving back up, underneath the blue mat to the right of the oven is our hidden pantry:
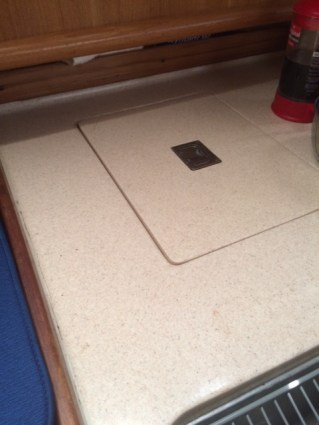
")